Showing posts with label Food. Show all posts

Monday, January 28, 2013

Yum Yum: Parnsip Chips


Parnsip chips  (or "par-chips" as we call them) have become a snack staple in our home over the last couple of months. Inexpensive, quick, and delicious these little chips hit all of my snacky sweet spots.

What You'll Need
3-4 Large Parsnips
Nutritional Yeast
2-3 Tablespoons of Preferred Oil (Grapeseed, Olive, etc...)
Salt and Pepper

Step One: Preheat your oven to 350 degrees. (You want it this low so that the parsnips are almost dehydrating, but not roasting.) Peel parsnips and slice very thinly into circles. (If you have a mandolin totally use it! We do not so our chips end up a bit thicker.)


Step Two: Spread your parsnips out on a large baking sheet and drizzle in an oil of your choosing. (We like grapeseed as it is pretty neutral tasting and doesn't break down when exposed to heat.) Add some salt and pepper.


Step Three: Bake on lower rack for 25-45 minutes. (This really depends on how "chippy" you want your chips. We like 'em pretty soft for the little guy so we usually keep it around 30 minutes, but you could easily let them cook much longer for more crunch.)

Step Four: Douse those bad boys in nutritional yeast and enjoy!


 Please enjoy photos of my ornery boy as a consolation for less parsnip pics. Wishing you all a lovely week!

Namaste!

Tara


Monday, January 14, 2013

How to Sprout: Alfalfa Seeds


Full of minerals and amino acids, sprouts are a great healthy food to have on hand during the winter when fresh goodness isn't as readily available. The best part, it's super easy to grow at home! Hooray for simple, at-home abundance in the middle of January! I made my first batch of sprouts this week and I was thrilled with the yield (2 large overflowing mason jars from 2 tbsp. of seeds). So for very little money and time you can have fresh food in rotation all winter! Absolutely delicious!

For my first batch I went with alfalfa sprouts, simple and delicious in salads, sandwiches, and green smoothies. If you would like to give sprouting a try at home (if you aren't already) here's a step by step guide to sprouty goodness.

You Will Need

Alfalfa Seeds
Mason Jars (at least two)
Cheesecloth (or squares of breathable fabric)

Step One: Soak 2 tbsp. of spouts in mason jar overnight. You want to replace the inner cap of your mason jar with the cheesecloth so that you can let water and air into and out of the jar without losing seeds.

 DAY ONE

Step Two: Rinse sprouts in the morning. Continue to rinse with cold water every 12 to 24 hours for several days. (I rinsed morning and night just to be safe and keep 'em clean!) Lay your mason jar on it's side to drain any remaining water during the sprouting process (this also allows the seeds to spread out). Once your sprouts begin overflowing the first jar move half over to a second jar and continue rinsing both jars of sprouts.


DAY THREE
 
Step Three: Around day six your sprouts should be fully developed. They will be nice and green with long white tails. To finish your sprouts place on a towel or plate in the sunlight for a couple of hours. This will allow them to soak up all that fresh sunlight and soak up lots of chlorophyll. Yum!


 DAY SIX
 
Step Four: Enjoy! Make sure you're sprouts are nice and dry when you store them in the fridge. They will last in a ziplock bag refrigerated for about a week (or two). When they are no longer vibrant and have begun to discolor you should toss any remaining sprouts.


 ABSORBING LOTS OF SUNLIGHT!

Happy sprouting!

Tara

Friday, March 23, 2012

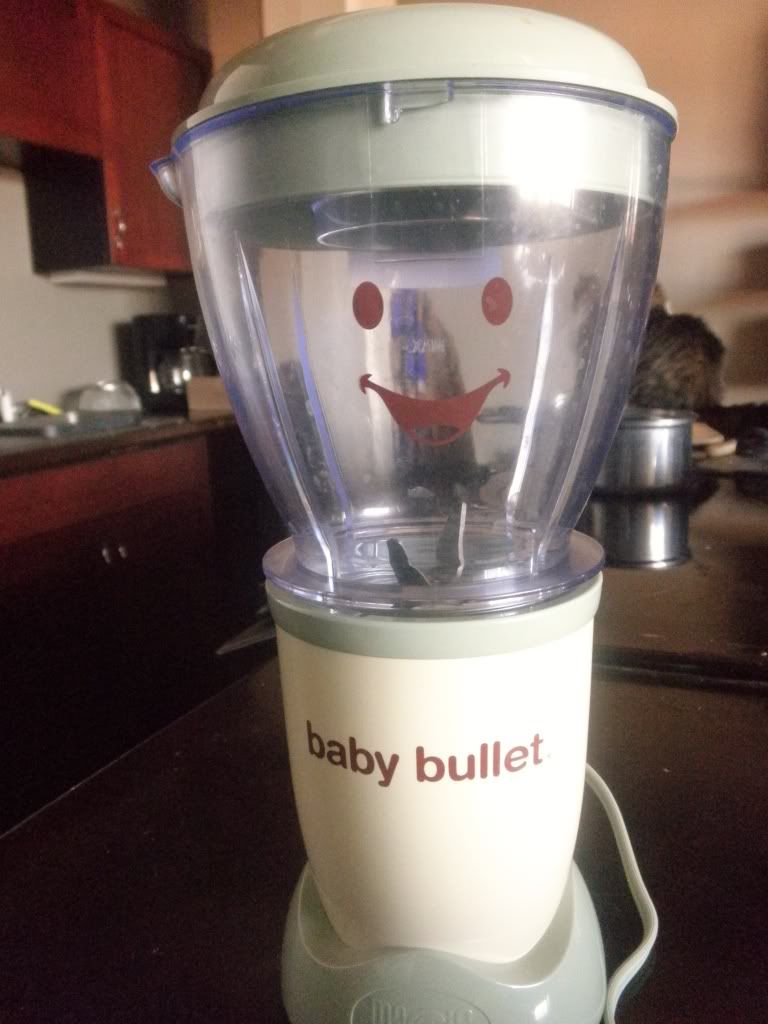
Product Review: The Baby Bullet


Disclaimer: I am in no way associated with Baby Bullet, except for the fact that I love their product.

So we began the adventure of pureeing a few months ago with the help of our handy Baby Bullet. I know it's a little gimicky, but it is a system and it's a system that totally works for us.


When it came to making Ez's food I wanted something that was specifically designated for the task. I know myself and organization is key to my success at anything. Without a plan I am pretty much lost. I prefer recipes to whipping something up off the top of my head. I look forward to making my weekly shopping list. I write completely unneccessary things in my planner just to mark them off. Blog about Baby Bullet. Nothing helps me feel more present than when I know all my ducks are in a row.


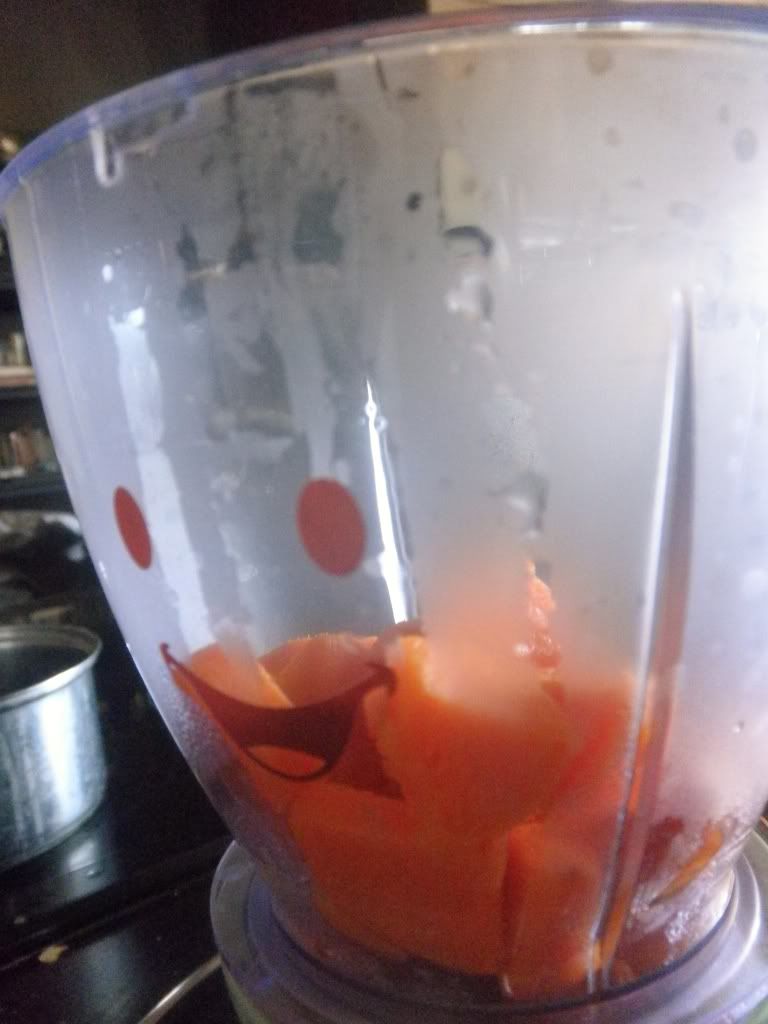
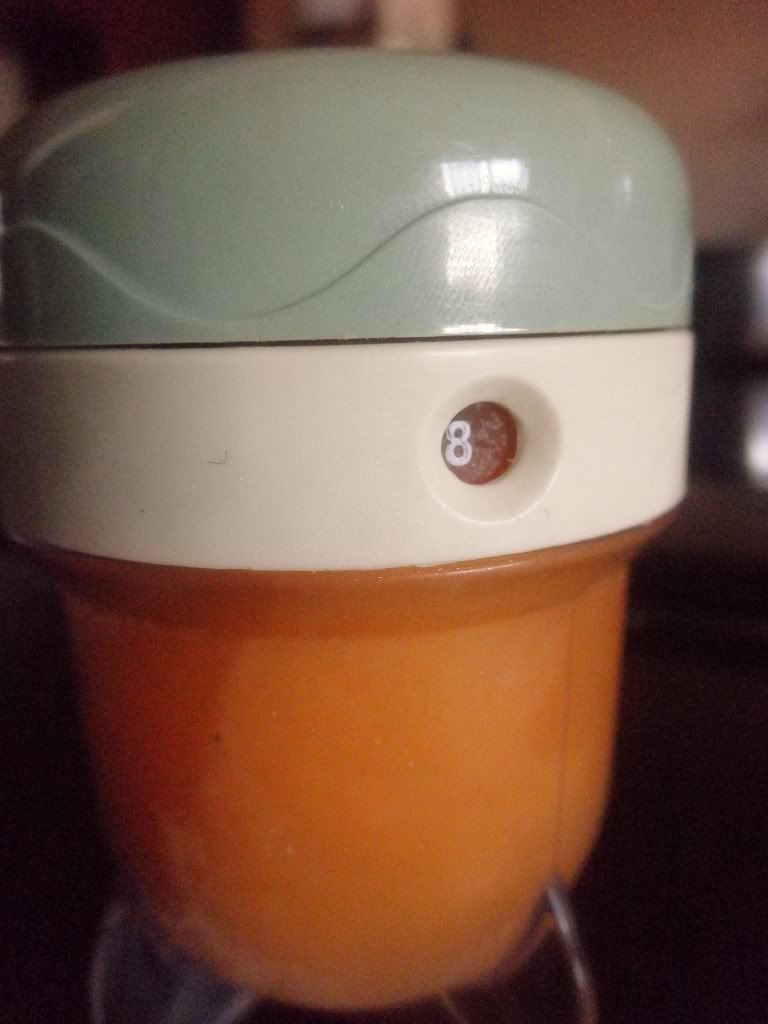
With the Baby Bullet I really liked how simple and efficient the whole thing was. I didn't have to worry about finding the right size tupperware or something to store or freeze my overflow in. I didn't have to worry about cross contamination or keeping track of when I made what. It was all laid out for me. I cooked up some yummy food. I whirled it around a few times in the processor. I clicked the little lids to the date I made the food so there was no way of forgetting. Simple and fool proof, my kind of system.


For some it might seem like more work than it's worth, but for me organization is freedom (not to mention the whole thing is actually really fun)!

Also I can't help but love all the little smiling faces on everything.

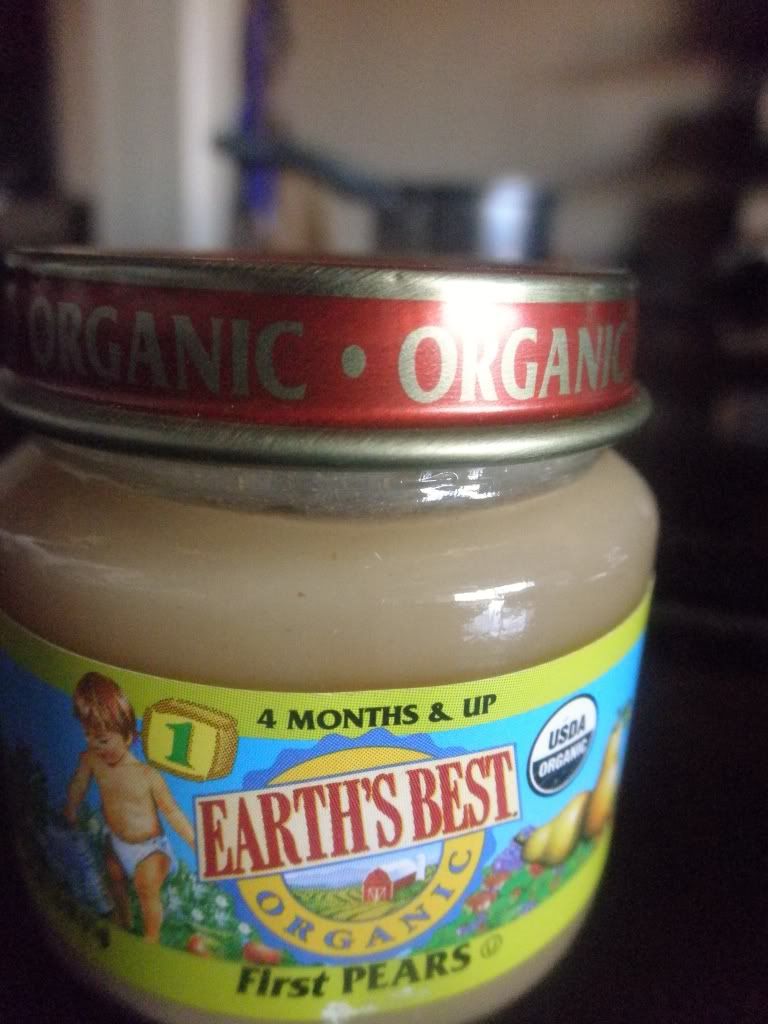
We currently are probably at around 50/50 with homemade food/jarred food and that's worked perfectly for us. There's no pressure or rushing at the last minute and I can be confident that he's eating well.


As far as the actual product goes I am definitely satisfied. Everything seems relatively well made and we've had no issues with the mechanics of it. All of the individual pieces are holding up well and work together nicely as a cohesive little system.

We're big fans and clearly Ezra is loving the final product.

Monday, February 27, 2012

The Boy Who Loved Beets

We have been experimenting with lots of new foods on the baby menu lately and still have yet to find anything this kid doesn't like. It's amazing actually, Ezra acts like every food I put in front of him is the best darn thing ever. I mean, I consider myself a pretty good chef, but not that much effort goes into your basic bebe puree (so I guess I shouldn't let it go to my head).

I love it! His enthusiasm for food makes me that much more excited to introduce new things and play around with fun combos. I know that we are very lucky to have a little guy with such a great appetite and desire to try a variety of tastes and textures.

Exhibit A: Beet Carnage

 
 Do you like our seasonally inappropriate bib?

This week I think we will be introducing lentils and parsnips (two of my all time favs), so here's hoping his love of food continues!

Namaste!

Tara

Friday, January 27, 2012

Yum Yum: Superhero Chili

SUPERHERO CHILI

This chili is winter favorite around these parts! It's seasonal, vegan, gluten free and makes TONS of leftovers. Oh yeah, and it's super easy to throw together and tastes delicious! Seriously, what more could you want in a recipe?

What you'll need:

2 tablespoons olive oil
1 large sweet yellow onion
2 large carrots, diced
2 medium parsnips, peeled and diced
3 medium Yukon Gold potatoes, diced
Salt and pepper
2 garlic cloves, minced
2 cups water
1 6 oz. can tomato paste
2 tablespoons chili powder
1 1/2 cups cooked (or one 15 oz can) black beans
1 1/2 cups cooked (or one 15 oz can) pinto beans
1 1/2 cups cooked (or one 15 oz can) dark red kidney beans

Now prepare:

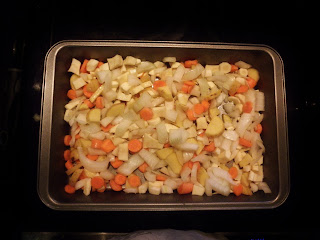
1. Preheat the oven to 400 degrees F. Use 1 tablespoon of olive oil to coat the bottom of a baking pan. Toss the onion, carrots, parsnips, and potatoes in the pan to coat. Sprinkle with salt and pepper and roast, turning once, about 30 minutes.

2. Heat the other tablespoon of olive oil in a large pot over medium heat. Add the garlic and cook about 2 or 3 minutes. Add the tomato paste, chili powder, water, and all beans. Stir well. Bring to a boil, reduce to heat to low and simmer for 15 minutes.

3. When the roasted veggies are nice and tender mix them into the pot and simmer for about 15 more minutes to blend the flavors.

Enjoy!


Monday, January 23, 2012

Meal Planning

I am all about keeping it simple and having a plan helps me better utilize my time, save money, and of course eat yummy food! Meal planning has saved my sanity and most definitely helped our budget. In the past I have dabbled here and there with some vague organization, but never really kept it up for long and during my pregnancy I completely handed over the reigns to the hubby. For nine long months the idea of preparing food was just out of the question and Kellen stepped up like a champ, making us delicious and healthy meals. With all that time away from the kitchen, upon Ezra's arrival I was so excited to get back into my cookin' groove! And that's exactly what I did. Food was fun again and I was just in hog heaven! As always though my system was kind of crumby and I would make several trips to the store (no easy feat with a wee one) and in my excitement would spend way more money than I wanted. So I got organized and made a plan. In the last several months I have created an easy and efficient system and now I can't imagine how we ever got by without it.

Every Saturday I write out a meal plan, no assigned days, but making sure to include enough food to get us through to the following weekend. I sit on the floor with all my cookbooks (and occassionally my laptop) and select our meals and snacks based on season, current cravings, and budget.

I have found that when you select recipes seasonally and with overlapping ingredients you can make your dollar stretch quite a bit further. (Good, quality organic food is very important in our house, but I hate to spend money unneccesarily. When you're buying asparagus in November you are just throwing your money away, not to mention the environmental cost.)

What's great is that when you're shopping with purpose there is a lot of room for flexibility. Sometimes I'll leave out a meal and see what's in abundance this week or when the farmer's markets are thriving I'll buy up the best priced, most appetizing food and then make a plan. This way you know you are getting the freshest food and you'd be amazed at the deals you can make. (I got a giant basket of eggplants last year at our local farmer's market for a dollar. It was the end of the season and nearing the end of the day. The farmer simply wanted to part with her produce and I happily obliged. Needless to say we ate every eggplant dish I know that week...and it was awesome!) If you are fortunate enough to live in a place with year round abundant farmer's markets (I am jealous!) and would make planning all the easier.

During the winter I make a lot of stews, soups, and casseroles. You work with what you have and a good hearty, winter veggie meal warms the bones with the added bonus of plenty of left-overs!

So if you're curious I'll give you an example from this upcoming week in our house.

The Meals:
 Cornmeal Brussels Sprout Masala w/ Rice
Tomato-Rice and Roasted Garlic Soup
 Superhero Chili (Roasted Root Veggies and Beans)
Caramelized Onion and Butternut Squash Casserole w/ Roasted Sprouts


Chickpea-Quinoa Pilaf w/ Curried Tofu

And that's it for the week. I will be able to make five delicious, home-cooked meals with enough left-overs to last through the following weekend for a little less than $50. I am definitely not the purest foodie on the block (well maybe on my block, but that's not saying much). I would love to incorporate more raw and fermented foods, buy more local, etc... but I feel pretty happy with my diet and definitely happy with my system.

If you're having trouble getting organized a template might be just what you need. If you would like to use an adorable meal planning template, Danielle's is super cute, efficient, and comes in two different sizes. How fun!

Do you meal plan? What's in your shopping cart this week?

Tara

Saturday, April 30, 2011

Yum Yum: Sauteed Rainbow Chard

It can be difficult to eat well, especially when you don't know where to start, are hooked on packaged food or have been reusing the same recipes over and over. Food can be pretty straight forward and incredibly rewarding for both mind and body when you know how to use it.
In Yum Yum we will look at simple ways to prepare easy, delicious meals that won't drain your budget or your patience.
First up:

Sauteed Rainbow Chard

Never tried rainbow chard? Well I bet you are probably in the majority and it's a darn shame as this versatile food is so incredibly good when prepared properly. This dish is super simple and can be altered to feed one or a large family. Some enjoy it as a good side dish, while I prefer to make a large batch and nosh on it alone. Very little time is needed for this one and it's an easy way to get in those dark, leafy greens we're always hearing about. Added bonus: It looks like a rainbow exploded on your plate!

What you'll need:
1/2 cup of extra virgin olive oil
3 large garlic cloves (minced)
4 lb. of rainbow chard (thick stems at the base discarded-inner ribs removed and cut into 1-2 inch strips- leaves cut into 1-2 strips)
Salt and freshly ground pepper
1/2 teaspoon of lemon juice

Now Cook:
1. In a large pot, heat 1/4 cup plus 2 tablespoons of the olive oil. Stir in the garlic and cook over medium heat until lightly golden, about 1 minute. Add the chard leaves in handfuls, allowing each batch to somewhat wilt before adding more. Continue stirring, seasoning the chard with salt and pepper and cook until the leaves are softened and most of the liquid has evaporated. Transfer the chard to a large bowl.
2. Add the remaining 2 tablespoons of olive oil. Add the chard ribs and cook over medium heat, stirring occasionally, until crisp-tender. This should take about 5 minutes. Stir in the chard leaves and season with salt and pepper again. Remove from heat, sprinkle with the lemon juice and serve right away.


Namaste
Tara